
How to Install Bridge Anchors/Bridge Connectors - A Hardware Installation Tutorial
7/10/2017 11:19:00 AM
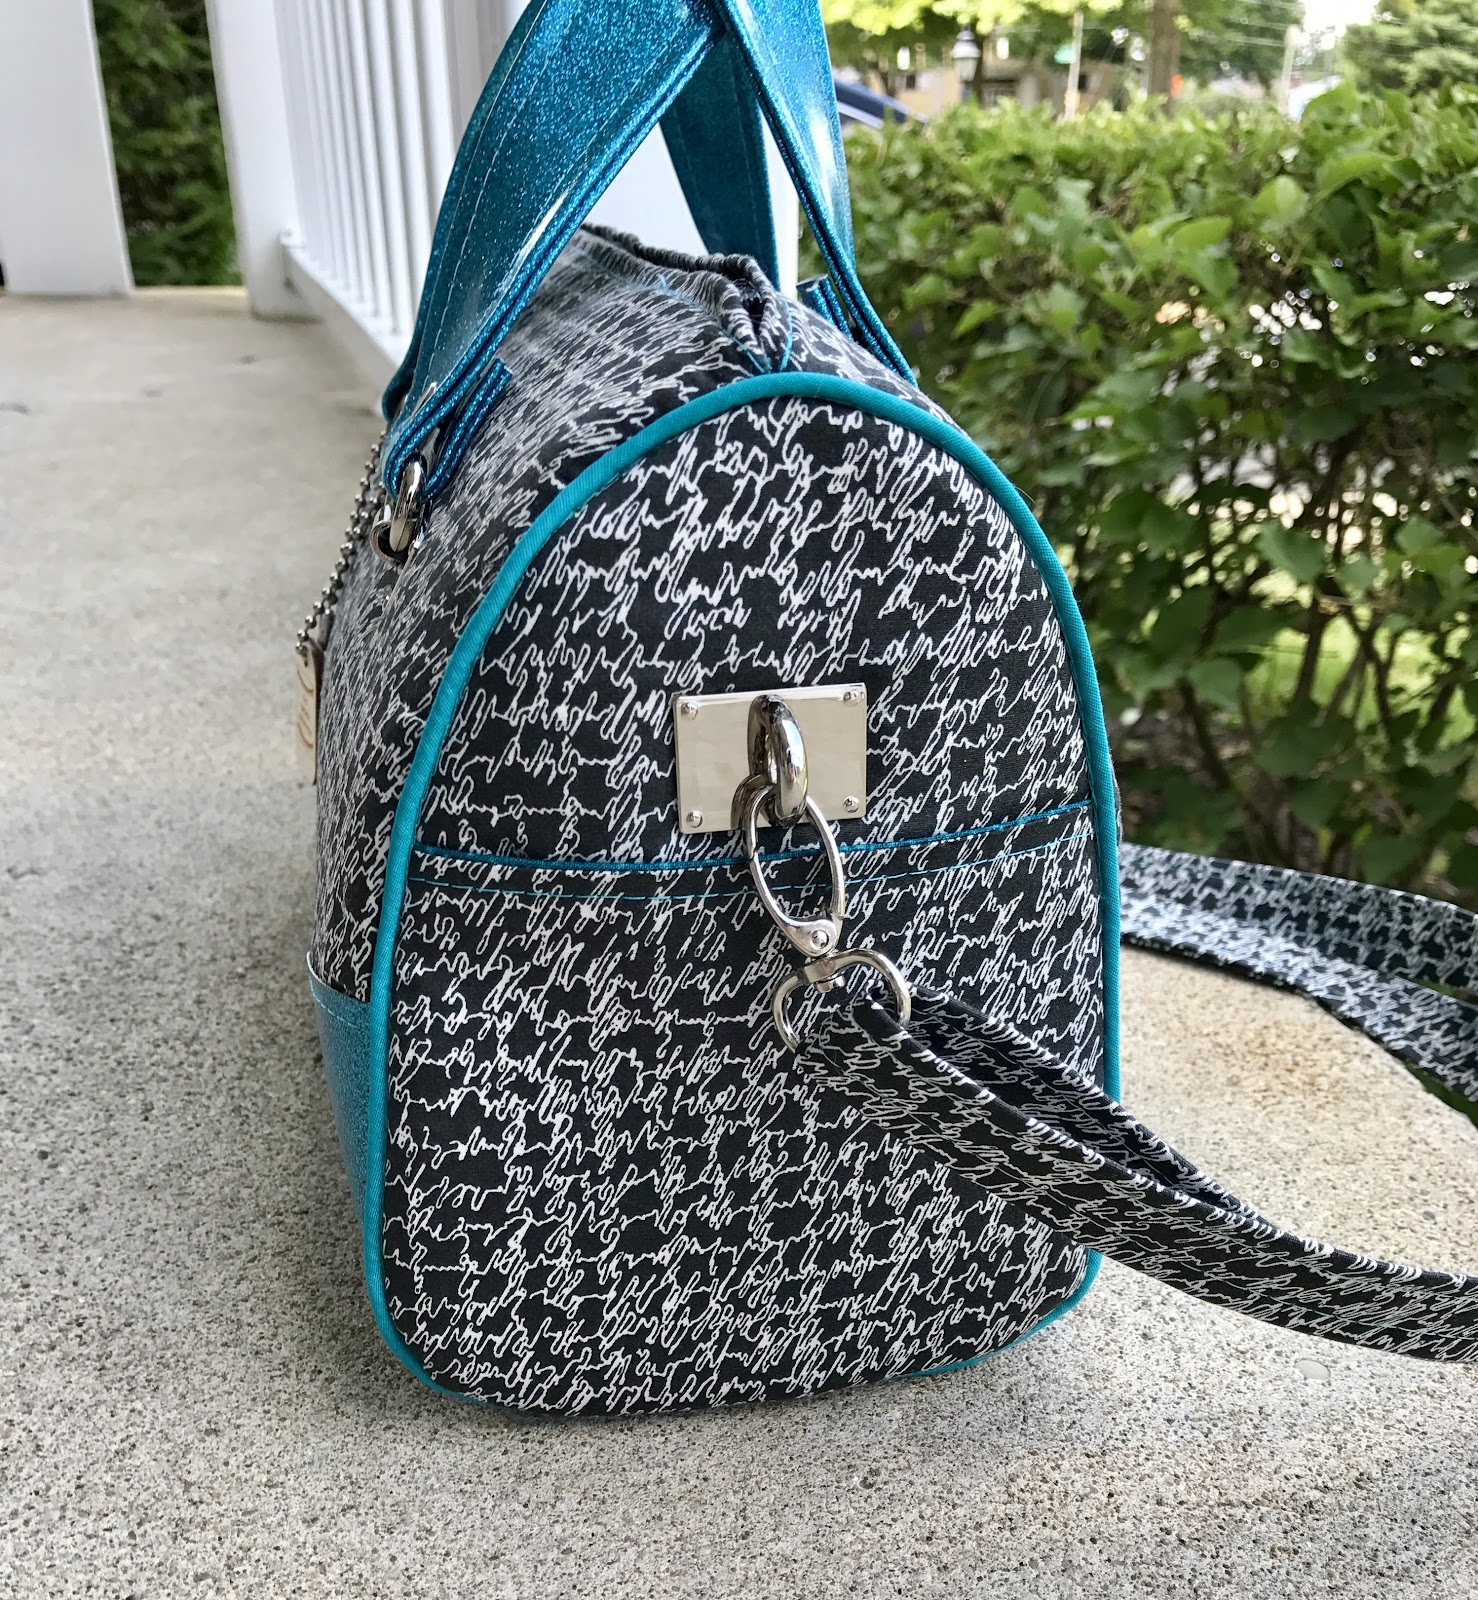
Have you seen the Bridge Anchors/Connectors over in the Emmaline shop but not sure how to install them? You're in luck! Today we are going to show you how! These small gems are great for adding to the sides of your bags for clipping on shoulder straps, using as strap anchors on the front of your bags, a place to add an anchor to clip your keys on or for added bling to any part of your bag.
Here's what you'll need:

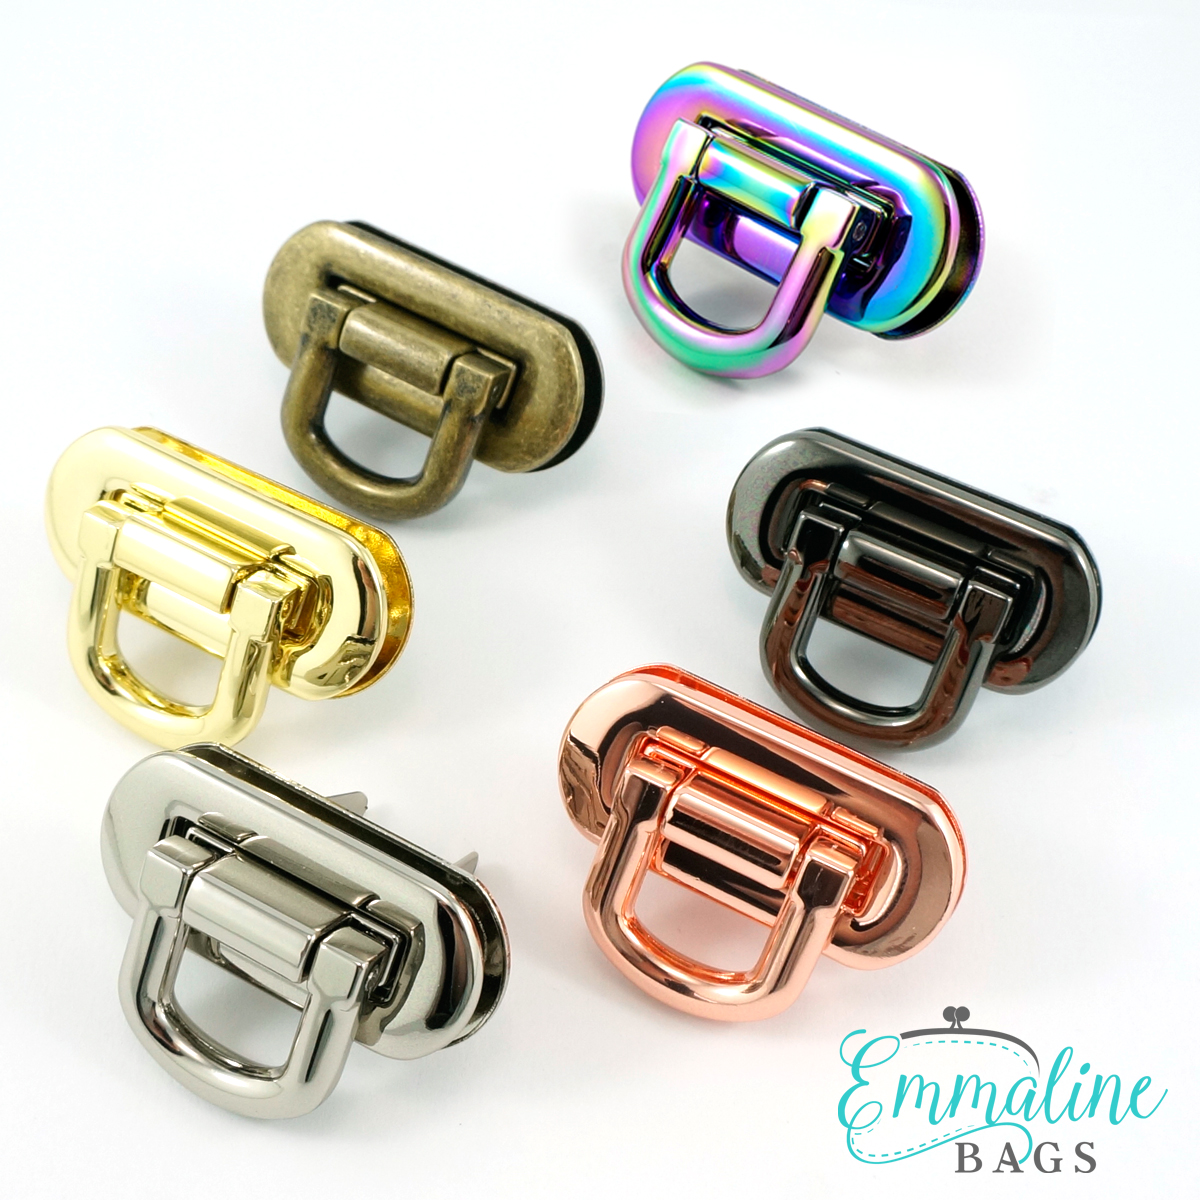
-Emmaline Bags Bridge Anchors (Bridge Connectors)
-Seam Ripper
-Scraps of Peltex
-Scraps of fusible fleece (optional but recommended to cover the installed hardware to protect your lining fabric)
Decide where you are going to place your bridge anchors. For this bag, I used them on the sides to clip an adjustable shoulder strap to.
Tip: It's recommended to leave on the protective plastic on the hardware until your bag is complete to protect it from scratches. If yours has gotten lost, simply place some masking tape over your hardware until your bag is complete.
Grab your bag panel and the washer that is included. Using the washer, mark the spots of the 4 holes in the back of the washer.

(For this bag, I'm working on the wrong side of my fabric so that you can see the marks...use a chalk pen or tailor’s chalk on dark fabrics).
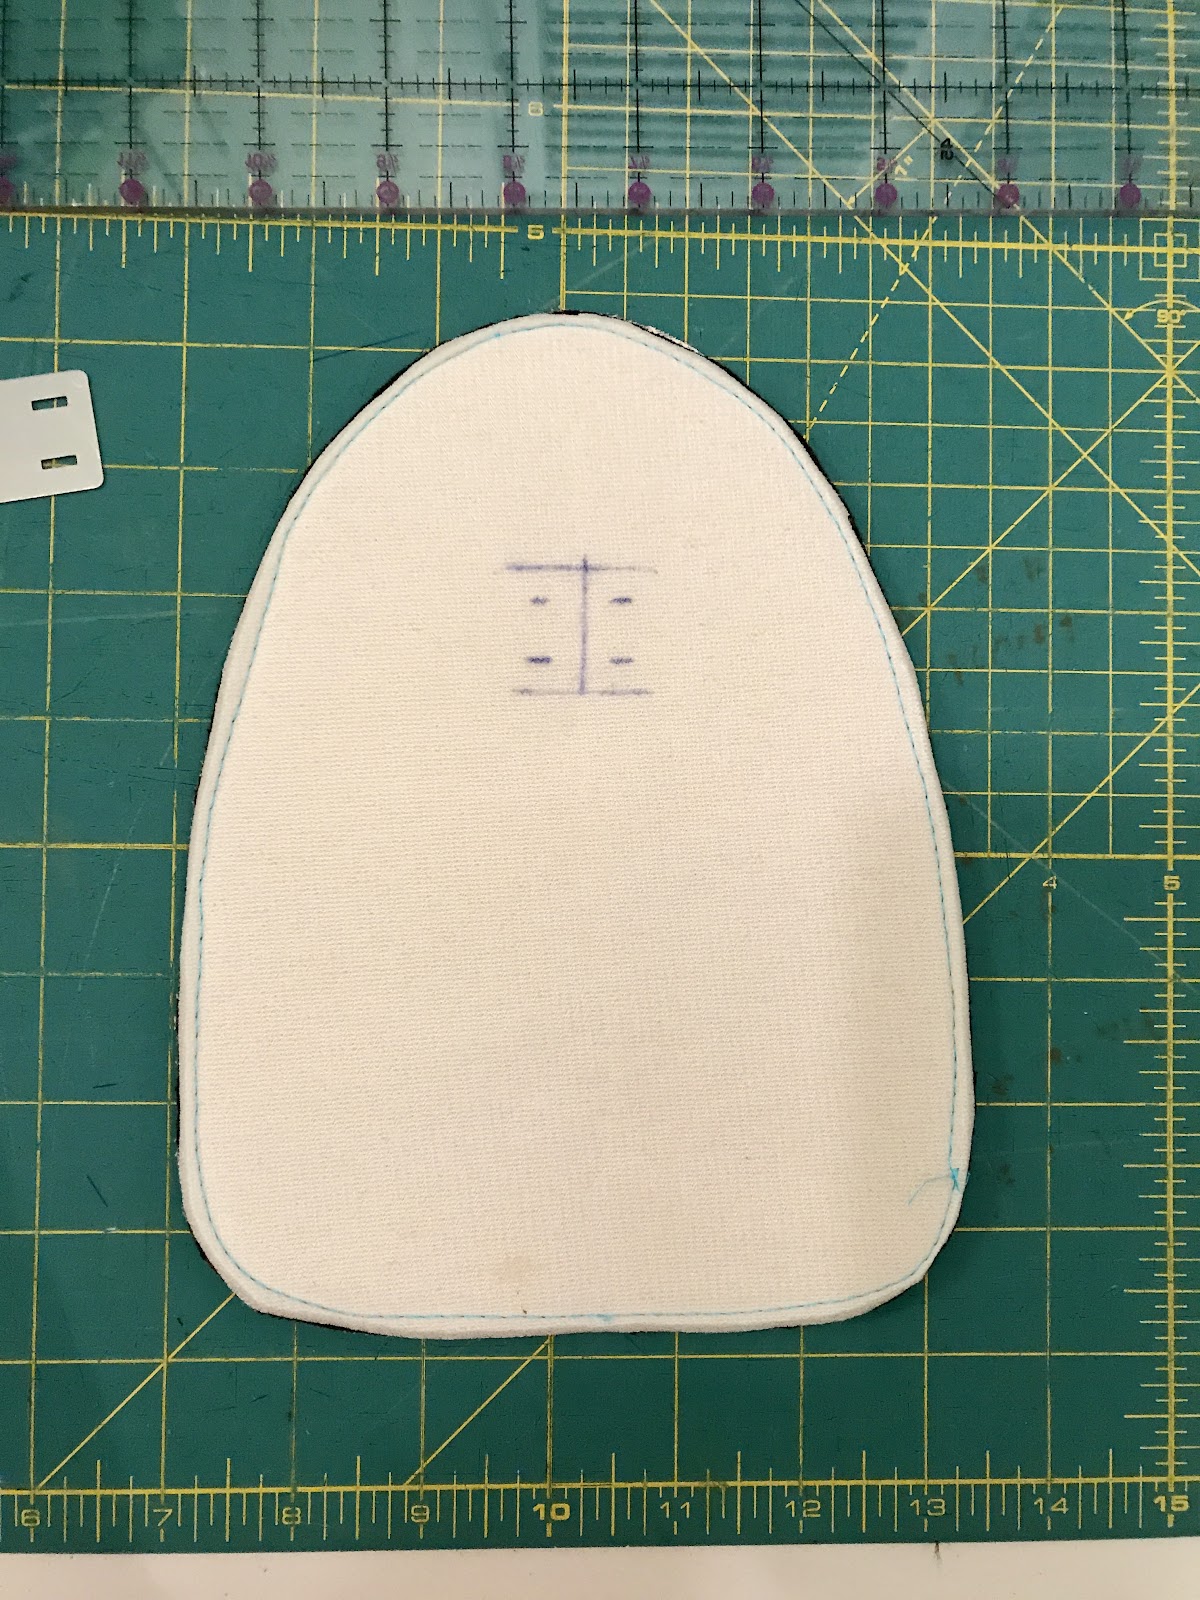
Once you have marked the placement for the prongs on your bag panel, use your seam ripper to carefully cut small slits to insert your prongs.

Using your Fray Check, dab a little on each of the four slits.

Once you've applied your Fray Check, grab your scrap of peltex and the washer again and mark the placement holes for the prongs on your peltex scrap.

Using your seam ripper, make a slit in your peltex along your marks.

Then insert the prongs through the front side of your fabric and slide your peltex over the prongs.
Slide your washer over your prongs.

Then bend your prongs over your washer.

Grab your scrap of fusible fleece and place over top of the back of your anchor and fuse over the hardware.

And you're all done!

Finish your bag as normal and admire your new bling.

-----------
Photos and content provided and written for Emmaline Bags by Cyndi Farfsing, from The Nosy Pepper. Cyndi's blog is chock is full of more bag photos and make making tips. Check out her bag series "It's in the Bag! Better Bag Making Series," to learn a ton of new bag making skills.
Share your projects made from Emmaline patterns and/or with Emmaline hardware in our facebook group Emmaline Sewing Patterns Group, or on instagram with the hashtags #emmalinehardware, #emmalinepatterns, #emmalinebags, or tag us @emmalinebags.


0 comments
Note: Only a member of this blog may post a comment.