
How to Attach our Top Edge Strap Anchors - A Hardware Installation Tutorial
7/15/2017 12:14:00 PM

Today we are going to walk you through how to install Emmaline Bags Top Edge Strap Anchors. These gems give a high end designer look to your next bag and are easy to install. Read on to find out how.

Supplies:
- your completed bag
- #4 or #5 punch
- hammer
- small Phillips screwdriver
- a couple of clips (optional but helpful when marking placements for punching)
- strong craft glue or loctite to secure your screws

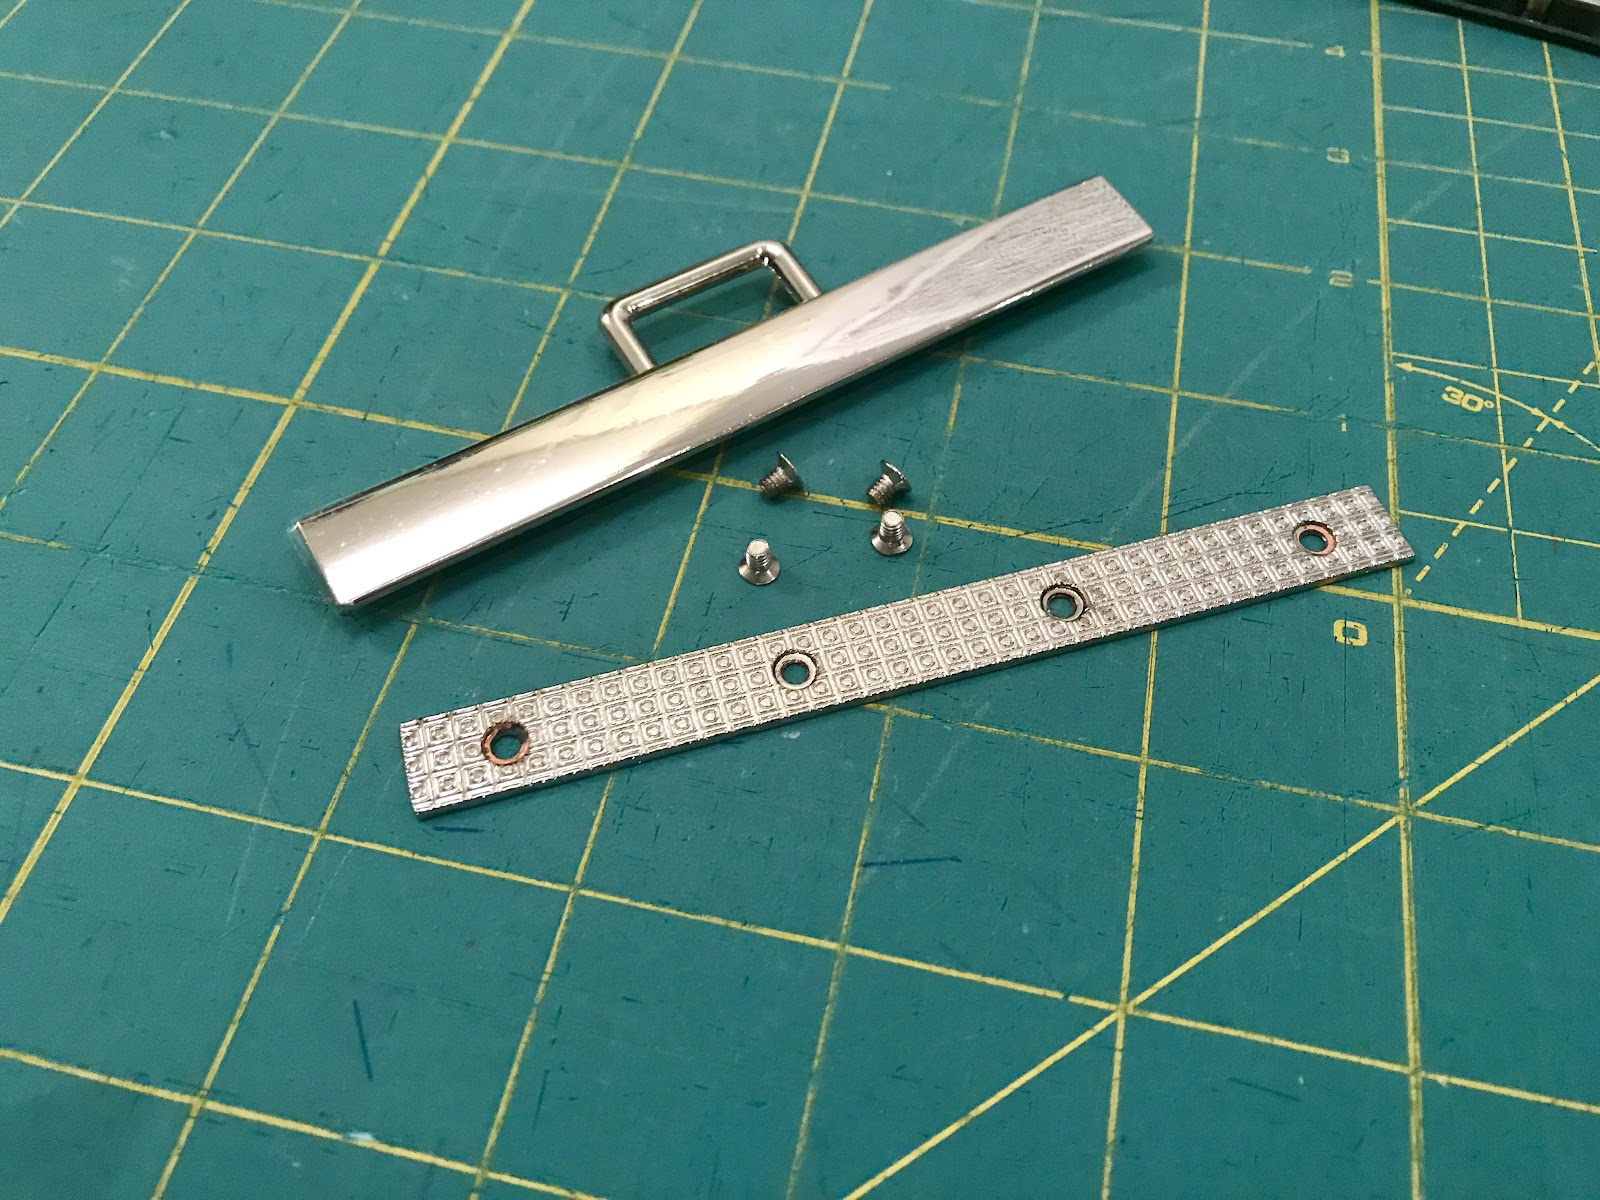
First we need to unscrew the backplate from the anchors. You may need to pry them a bit as sometimes they become adhered during the plating process. The front of your anchor comes with a sheet of protective plastic to keep it from getting scratched during installation. Leave this film on until your bag is finished or cover with a piece of masking tape.
Using the back plate of the anchor as a guide make a mark in each of the four holes onto your bag. The top of your anchor should be level with the top edge of your bag. Tip: clip your plate in place while you mark to keep it from shifting.
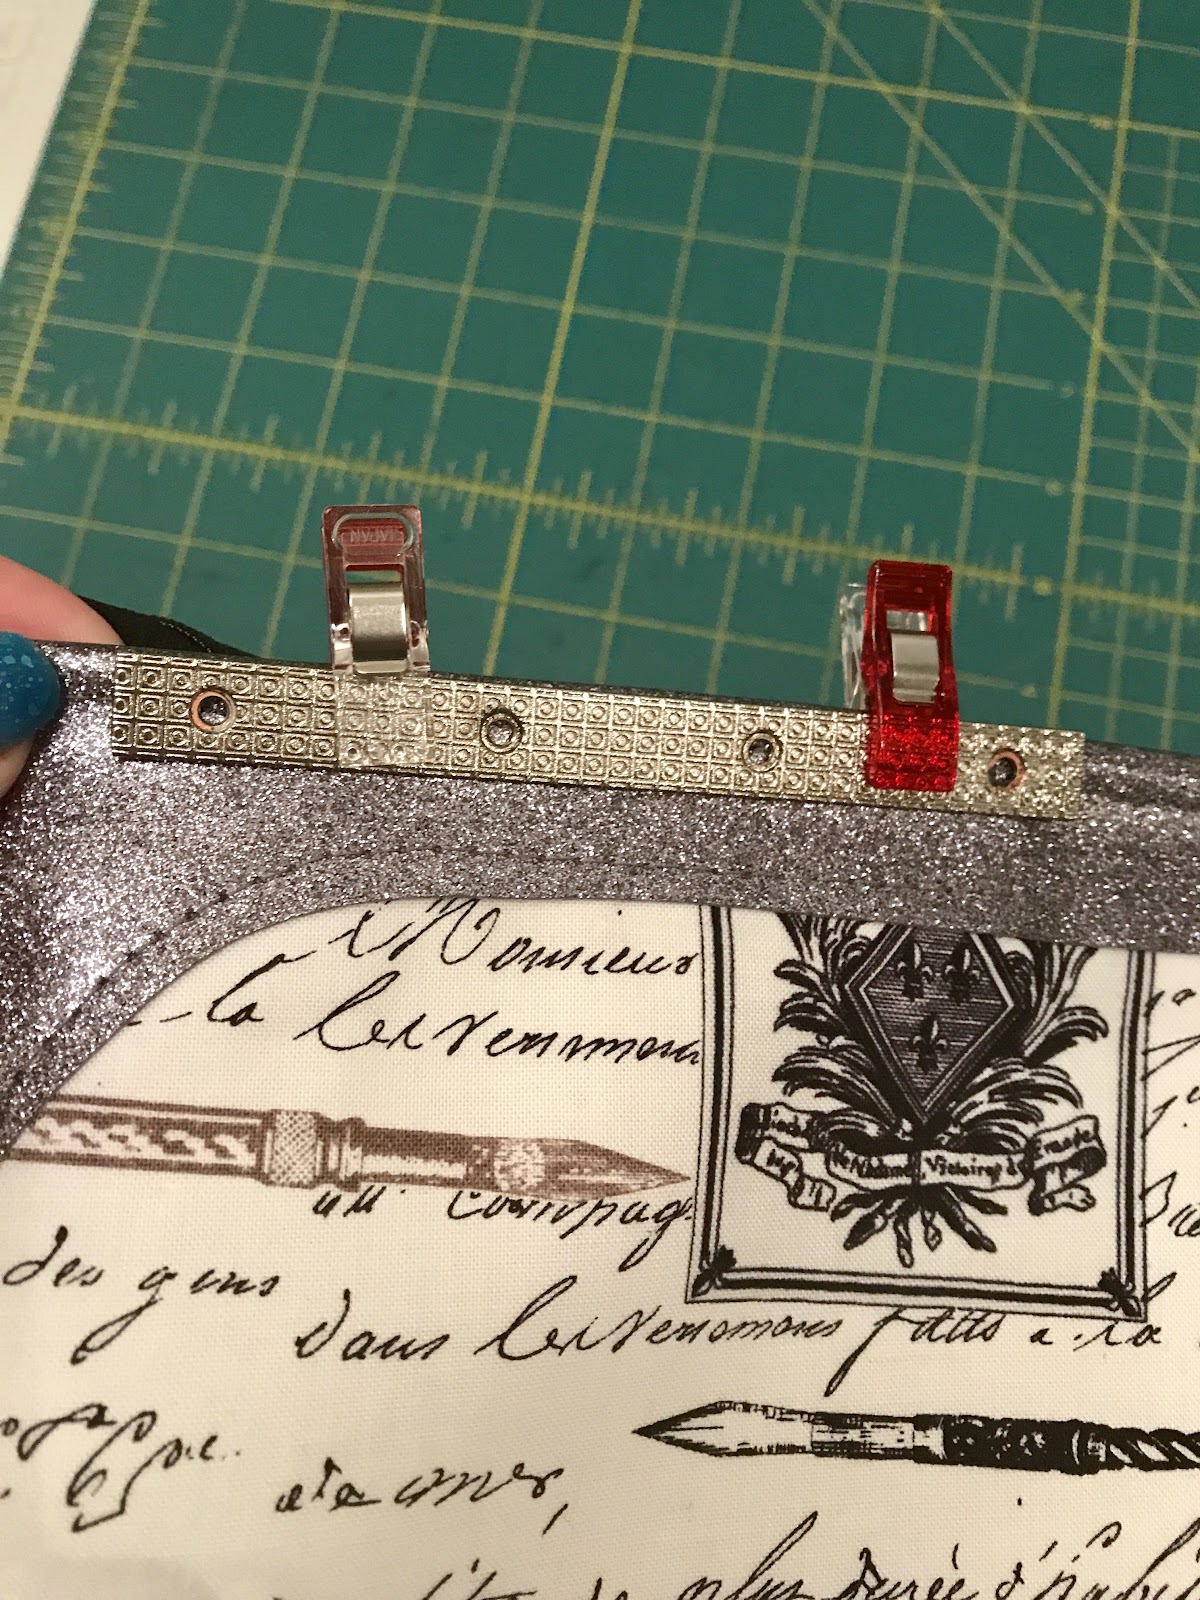
It's very important that you have your marks lined up precisely, so double check that your plate is even with the top edge of your bag and your markings are accurate.

Once your holes are marked, grab your punch and hammer and center your punch over the marks you made. Give your hammer a few whacks to punch your hold and repeat for each of the remaining three holes.

I didn't actually punch my holes on my cutting mat (not that I've ever made that mistake before or anything...just don't, you'll be unhappy). You will get the best results if you punch your holes on a HARD surface; think concrete floor (with a cutting board underneath) or on a small piece of scrap lumber on your floor in a pinch.
Once you have punched your holes your bag will look like this:


Test for fit and make holes bigger in small increments, if necessary. Take your Fray Check and apply it to both sides of your holes.
Now grab the front of your anchors dab a tiny bit of glue around each screw hole in your anchor. Then, from the front of your bag align them with the holes in your bag.

Slide your back plate over the lining side of your bag (textured side up) aligning them with the holes. Dab a touch of strong glue or locktite into the threads of the screw holes in the anchor to ensure your screws remain secured once installed. You just need a tiny bit or it will ooze out.
Grab your screws and screwdriver and screw them in place making sure that they are threading into the anchor and not just spinning without catching the threads.

Repeat for each of the remaining three screws and you have successfully installed your strap anchor!

Repeat the previous steps to install the remaining anchors. Once you have them installed, add your handles, remove the protective plastic film and you're all done. It's scary to whack a bunch of holes in your finished bag, but it's totally worth it in the end.

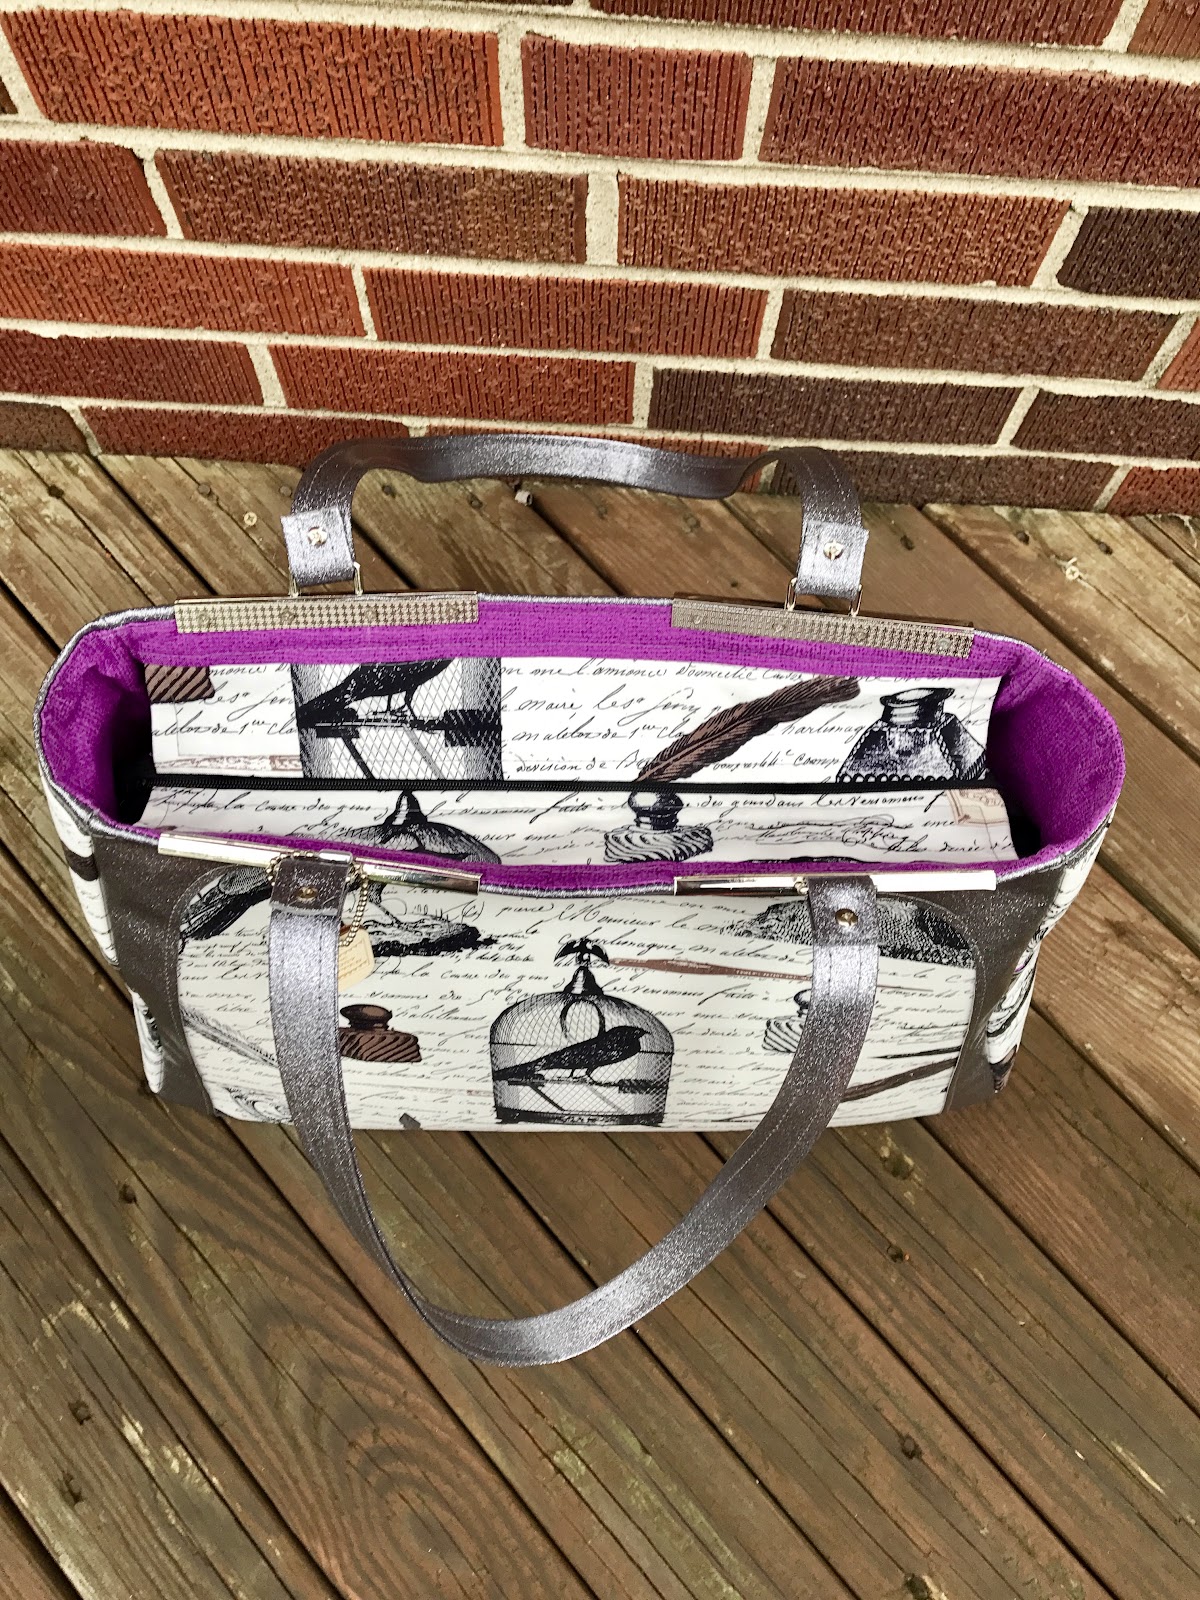
How about a few more pics.
Isn't this a wonderful way to add a tassel?!


Thanks for reading!
-----------
Photos and content provided and written for Emmaline Bags by Cyndi Farfsing, from The Nosy Pepper. Cyndi's blog is chock is full of more bag photos and make making tips. Check out her bag series "It's in the Bag! Better Bag Making Series," to learn a ton of new bag making skills.
Share your projects made from Emmaline patterns and/or with Emmaline hardware in our facebook group Emmaline Sewing Patterns Group, or on instagram with the hashtags #emmalinehardware, #emmalinepatterns, #emmalinebags, or tag us @emmalinebags.


0 comments
Note: Only a member of this blog may post a comment.