
How to Install Oval Bag handles - A Tutorial by the Cloth Albatross
4/24/2016 10:22:00 AM
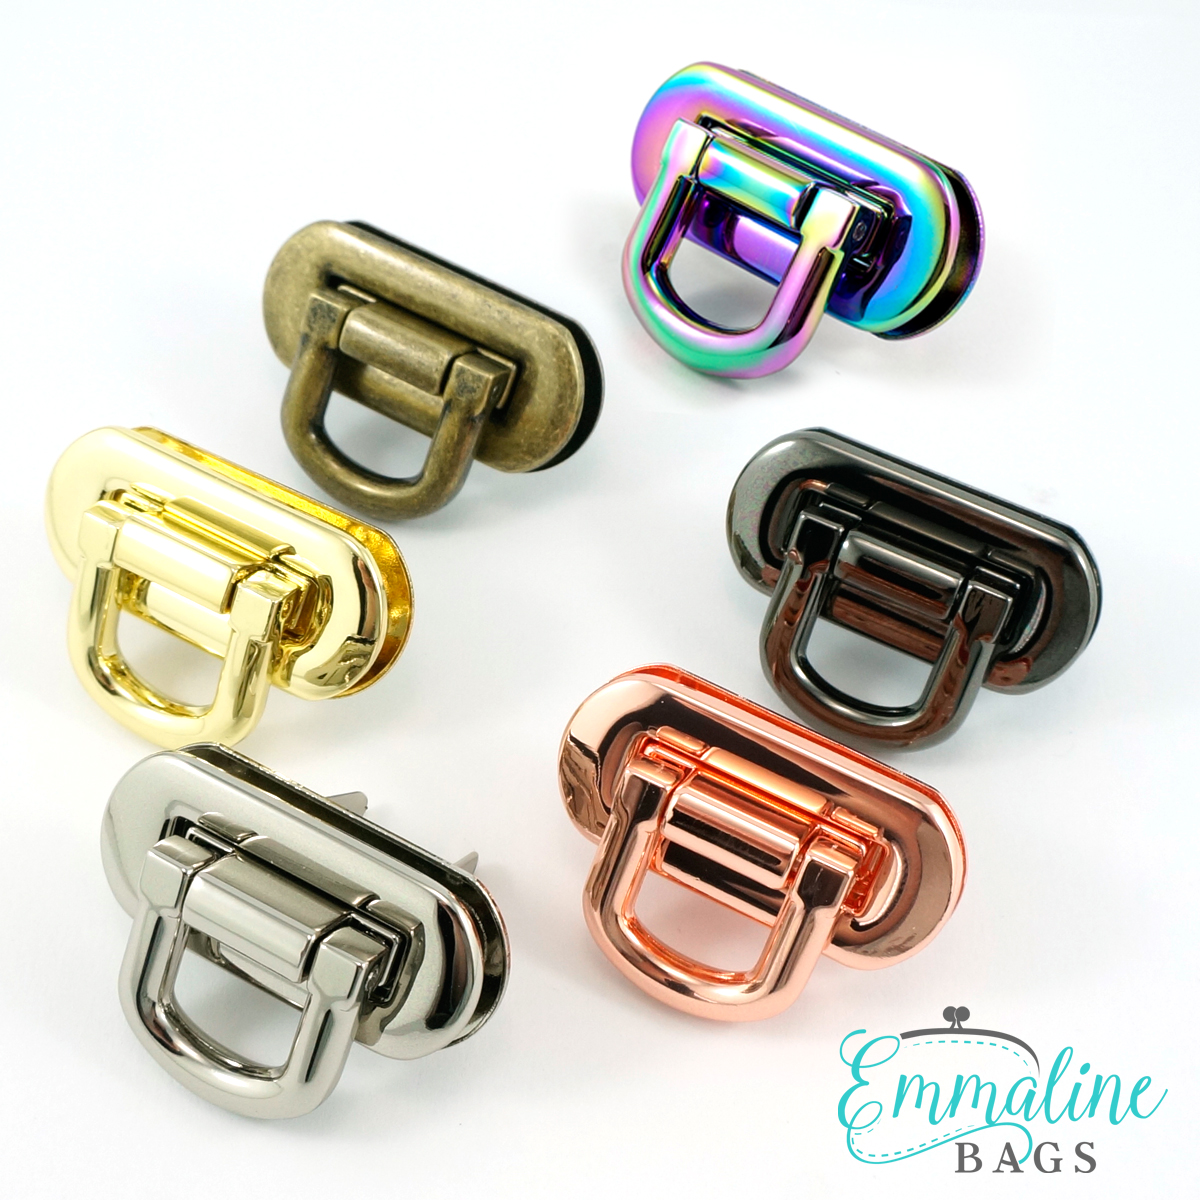
Do you want to use some of our screw-in Oval Handles in the top of a bag, clutch, or tote and make sure they are installed correctly and securely? Crystal Chadwick, from The Cloth Albatross, has written up a very helpful and thorough tutorial that uses the necessary glue & stabilizers with your frames to make sure they are attached securely.
You could just go cut a hole and screw these gorgeous chunks of bling into your project, but with added weight in the bag, the fabric will pull out of the seams. Crystal has the right idea here, adding a peltex to stabilize the area. There could be other ways to do it, but this one does make it simple and secure, and with her added placement directions, you will also make sure they are STRAIGHT!
I'll let Crystal take it from here. When you are done, I hope you will check out her blog, and shop where she sells her professional looking handmade bags! - Janelle
Supplies
- Phillips Screwdriver
- Hardware Glue (e.g., E6000)
- Peltex [~ 6” x 8” piece or (2) scraps at 3” x 4”]
- Seam Sealant (e.g., Fray Check)
- Rotary Punch (optional)
- 1 Pair of Oval Bag Handles


Trace Handle Backs
Place the back of your handles on your Peltex*. (The handle back is the side with the screw holes.) Trace the inside of the handle and the outer edge of the handle. We’re making a Peltex support that will sit between the front and back of the grommet handles. When you’ve traced both handle backs, cut out your shape. It should look like an oval doughnut.

Mark Handle Placement
You will be marking handle placement on the wrong side of the exterior panels of your project. I am making the Window Shopper Tote by Mrs H, so I am marking my handle placement 1.5” down and centered from the top edge on the wrong side. At your project’s center mark make a vertical line approximately 5” long so that you can use this line for centering the top and bottom edge of your Peltex support.
Affix Peltex
Fold your Peltex in half to find the vertical center. (Short ends of the Peltex should be touching.) Mark the vertical center on both the top and the bottom. You’ll notice in the picture of my Peltex that I marked and punched my screw hole placement. Do NOT do this. It’s near impossible to feel those little holes through the lining fabric. So we will be punching our holes later. So in subsequent pictures, please disregard my screw holes.
Align the vertical center marks on your Peltex with the vertical line that you drew in the previous step. If you’re using fusible Peltex, fuse it now. If your Peltex is not fusible, use a bit of fabric glue to hold it in place, or pin it in place. Once you’ve centered your Peltex, stitch all around the inside of the Peltex, just inside the edge.

Cut Handle Hole
Using your Peltex as a guide, cut your handle hole. You will eventually have to cut a hole through your lining as well, but it’s easier to cut through the layers separately so that you’re not trying to cut 2 layers of fabric and interfacing all at once. After you’ve cut out your oval, apply seam sealant all around its edge.
Finish Your Project
Now that we’ve placed the Peltex support, finish your project according to the pattern’s instructions. We will place the actual handles until after your project has been topstitched.After you’ve attached your project’s lining and topstitched, you’re ready to begin installing your handles.
Cut Lining Fabric

You will use the hole that you cut on your exterior as a guide to cut your lining fabric. First, pin the lining fabric so that it’s taut and there are no wrinkles so that you know that it’s aligned properly with your project’s exterior. Once it’s pinned, trace the oval hole onto the wrong side of your lining. It’s not necessary to trace the hole but it will be easier to cut if you pull the lining away from the exterior a bit, so the traced oval will be there as a guide. Cut your lining fabric.

Sew Lining to Exterior
With your lining still pinned around the hole that you’ve just cut, sew a line of stitching over top of the stitching where you sewed your Peltex to the exterior. This line of stitching will not be seen. It’s just to hold all of your layers together and prevent shifting. It will also make it easier to get the fabric not to peek out of the inside of your handles.Mark and Cut/Punch Screw Hole Placement
Take your handle back and place it on top of your oval on your LINING. (You want to make sure you’re not placing your handle back on your exterior.) If you have any large chunks of fabric or interfacing showing inside of the handle, trim them now. If it’s just little bits, we can trim those later. With your handle back positioned, mark screw hole placement with a pen. I had a rotary punch that I used to remove the fabric and Peltex from my hole placement but you could use a seam ripper to puncture your fabric and carefully cut away a small hole. You want to make sure you remove enough for your screws to fit through.

Glue Handle Back in Place
Take your hardware glue and place a bit on the backside of your handle back. Make sure you don’t put too much because you don’t want it oozing all over your project. Have a scrap of fabric handy so that you can make sure to catch any glue ooze so it doesn’t get where it’s not supposed to. Carefully place your handle back on your LINING over the oval hole, making sure you line up the screw holes that you made. After your handle is positioned properly. Press down firmly. Allow the glue to dry for a few minutes before moving on to the next step.
Glue Handle Front
Position your handle front onto your exterior fabric around the handle hole. If there is any fabric showing from the front, trim it now. Place some hardware glue on the back of the handle front. Carefully position your handle front and gently turn your project so that you can see the lining to make sure the front is aligned with the screw holes. Leave your project with the lining face up so that you can insert the screws in the next step.


Install Handle Screws
Taking your hardware glue and a scrap of Peltex or cardboard, make a little puddle of glue. We’re going to dip the screws into the glue to make sure they don’t come unscrewed. I placed my screw on the back of a tiny eyeglass kit screwdriver that I didn’t care if I got glue on. I found this easier to use than using the larger screwdriver for this step. But if you have a larger screwdriver that has been magnetized on the tip, that would work well too. You don’t want too much glue on the screw threads so rub off any excess before installing them into the handles. When you’re screwing in your screws. Press the handle back firmly toward the handle front so that the fabric is squished in between and the screws are able to catch the threading of the holes.
Stand back and admire your shiny new handles and finished project!

 |
| The Window Shopper Tote: Pattern by Sewing Patterns by Mrs. H, Sewn by The Cloth Albatross |
Thank you, Crystal!!
Oval Bag Handles can be found in the Bag Hardware section at emmalinebags.com


 |
| Take My Craftsy Class at 50% off!! |


1 comments
Thank you very much, it is super !!!
ReplyDeleteNote: Only a member of this blog may post a comment.